There’s something wonderful about returning to a walk you haven’t done in years and finding both familiar moments andsurprises. My loop from the National Trust’s Great Wood Car Park up to Walla Crag and around to Ashness Bridge delivered all of that — a mix of autumn colour, shifting weather, and wide-open views that made every mile feel satisfying. It’s a route I’ve always loved, and this time, with October’s moody skies and bursts of sunshine, it felt even more atmospheric.

🌿 Nature Explorer Route Summary
Walk: Walla Crag to Ashness Bridge
Start/Finish:Car Park at Great Wood NY271214
Distance: 4.5miles
Total Ascent: Moderate
Highest Point: Walla Crag
Time: 2 Hours
Grade: Moderate
Route:
- Great Wood
- Castlerigg
- Rakefoot Farm
- Walla Crag
- Ashness Bridge
- Great Wood
Notes:
- Some parts may be quite wet and muddy and others are rocky
- Good footwear is essential.
- Gradients are generally moderate.
Starting the Loop: Through Great Wood and Up Towards Rakefoot
I began at Great Wood Car Park, which is a convenient base for this whole circuit. The morning had that unmistakable autumn dampness — leaves slick on the paths, the air earthy and cold — but there were bright spells breaking through the grey. Those quick flashes of light ended up shaping the whole mood of the walk.
Great Wood is always a charming start: tall trees, soft paths, and that lovely feeling of gradually climbing away from Derwentwater. The trail winds upwards through the woodland, heading towards Castlerigg before looping back towards Rakefoot. It’s a gentle ascent, and at that time of year the colours were gorgeous — deep golds, reds, and faded greens all mixed together, with the smell of wet bracken drifting in the cool air.
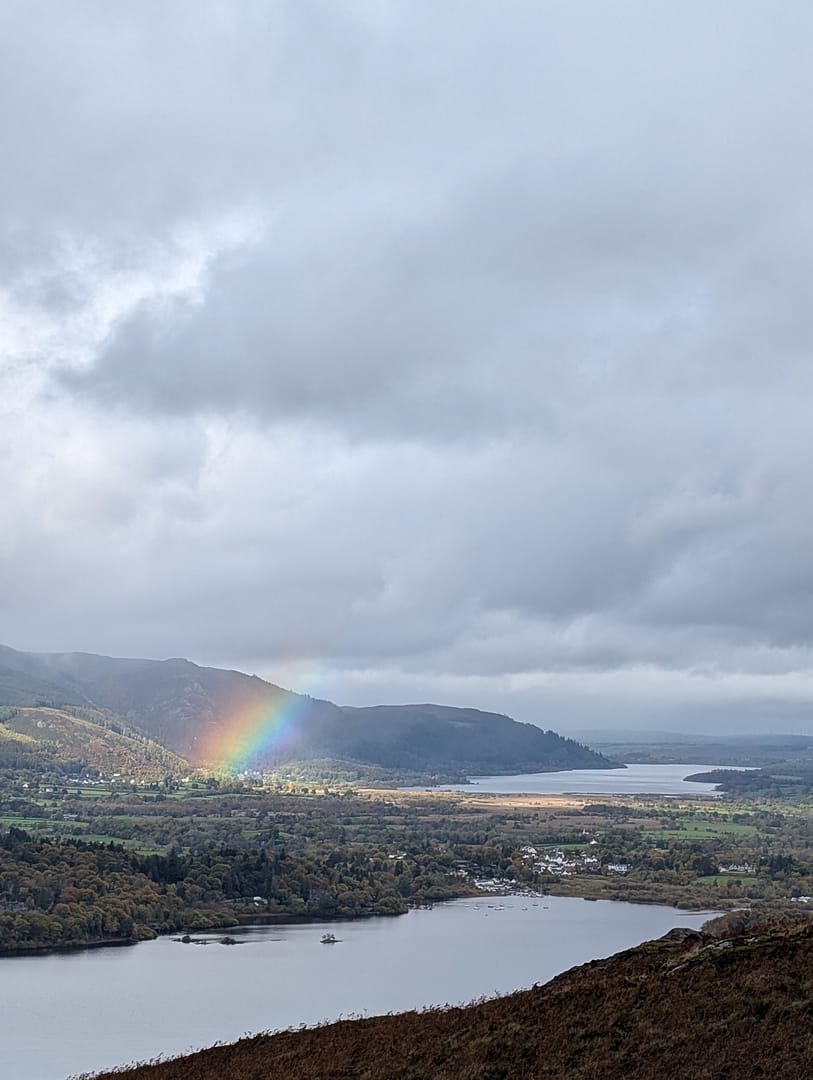
Every so often the trees opened up, giving me glimpses back towards Derwentwater. At one point the light shifted dramatically, and a rainbow appeared over the lake, glowing softly against the darker clouds behind it. Moments like that are exactly why I love walking in the Lake District in autumn: the weather is unpredictable, but when it plays nicely, it transforms the landscape into something truly special.
Reaching Walla Crag: Bright over Keswick, Stormy over the High Fells
The path from Rakefoot up to Walla Crag is short, rocky, and full of interest. You suddenly leave the woodland behind and step out onto open ground, with the wind rushing across the top and the crags dropping steeply away towards the lake.
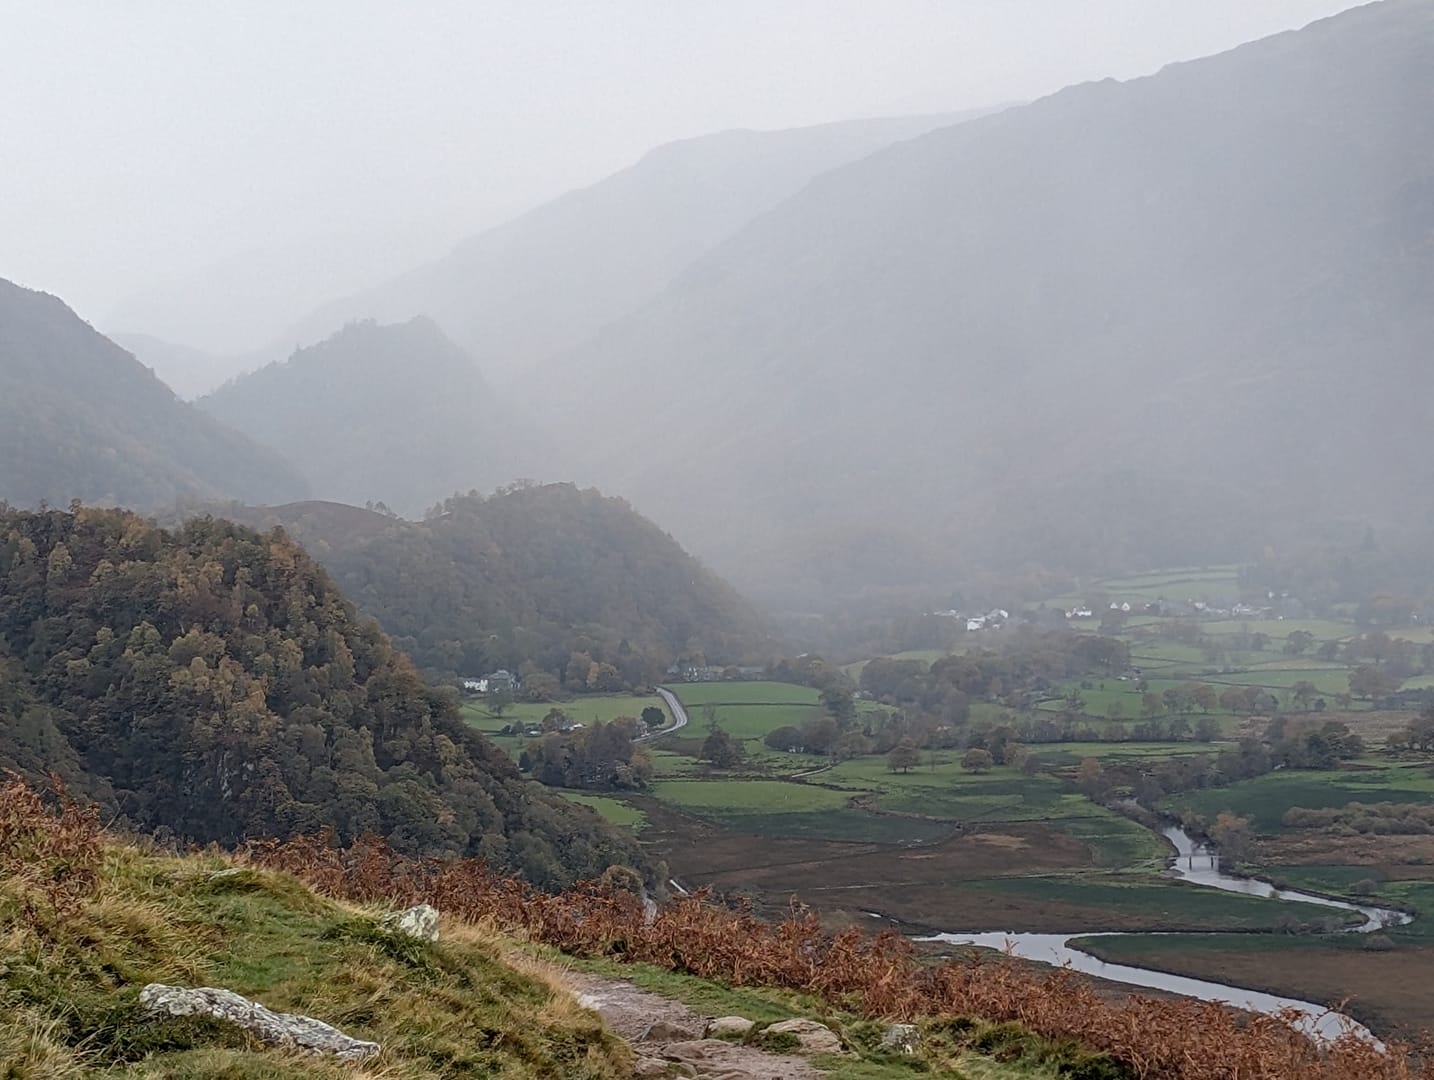
As I climbed, the weather became wonderfully dramatic. To the north, over Keswick, the sky was bright and clear — almost summery in its light. But to the south and west, over the higher fells like Great Gable, the sky was heavy, dark, and storm-laden. It was like looking at two different seasons at once.
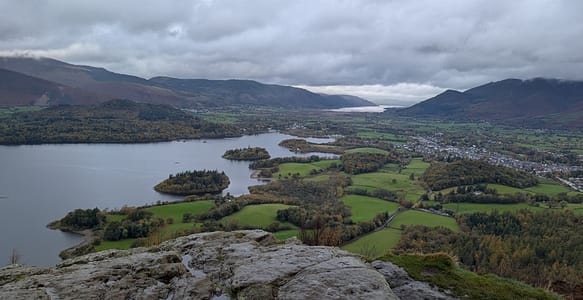
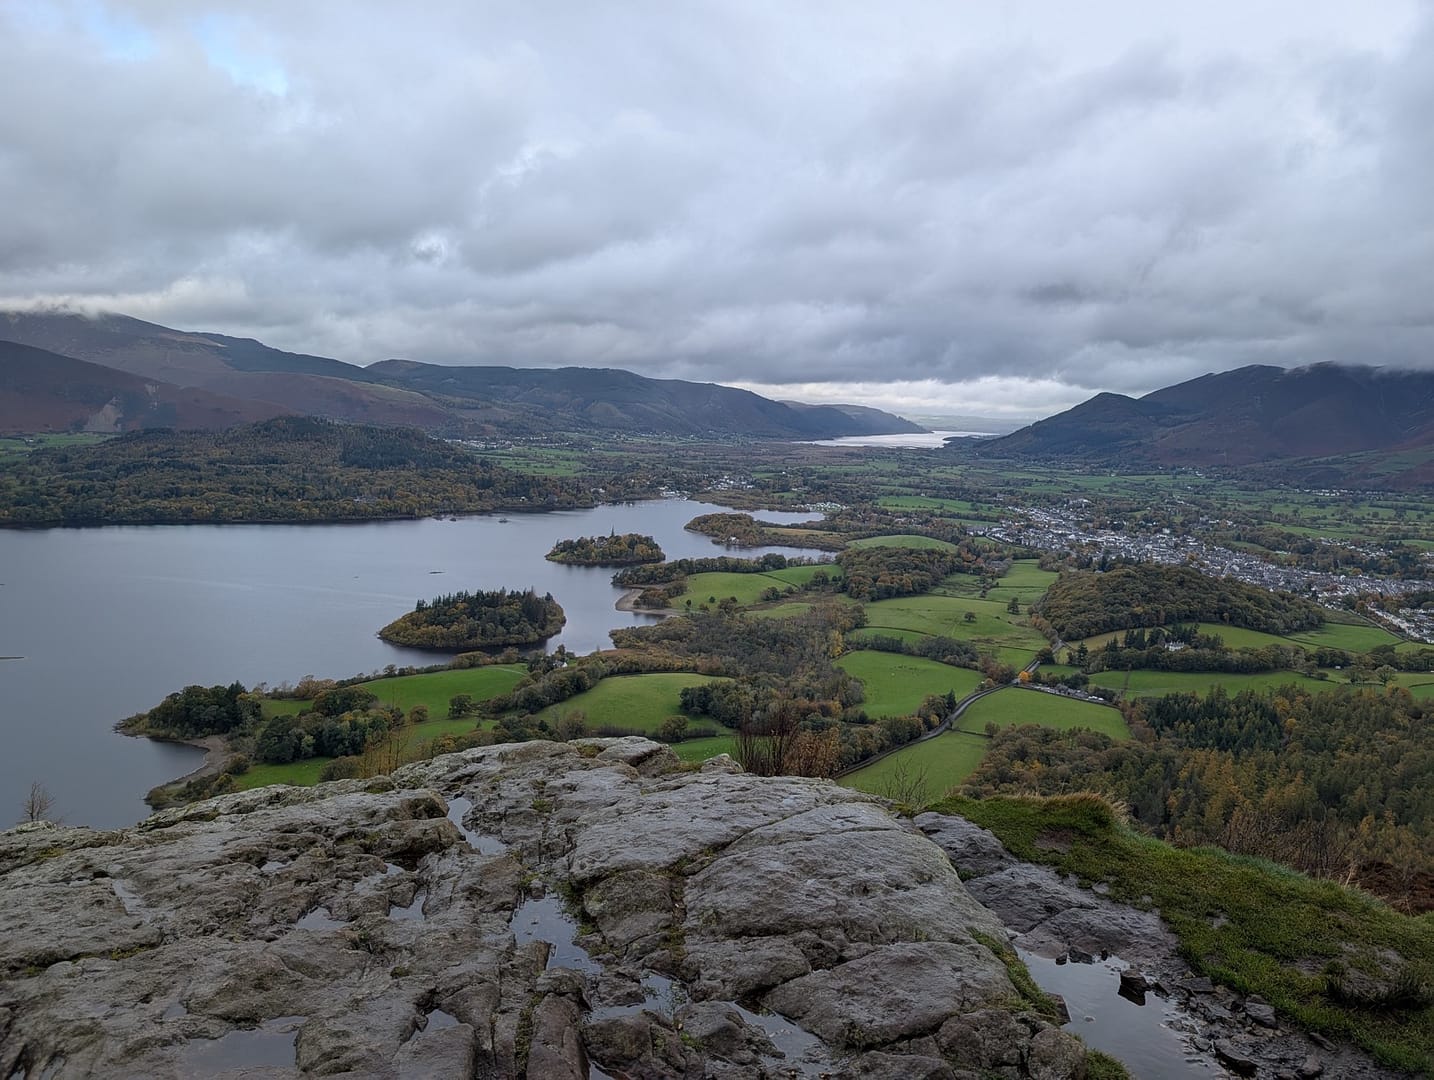
Walla Crag’s summit never disappoints. The view stretched across Derwentwater with a lovely clarity, the islands sitting like little stepping stones in the light. I always feel a little boost standing on this ridge — it’s not a huge climb, but the payoff is fantastic, and the dramatic lighting that day made the scenery even more memorable.
I took a slow moment at the top, enjoying how the shifting clouds sent waves of shadow and sunlight drifting across the water. The contrast between Keswick’s brightness and the brooding fells beyond was one of the most striking scenes I’ve had up there in years.
Down to Ashness Bridge: A Classic Spot… but Not Quite the View It Once Was
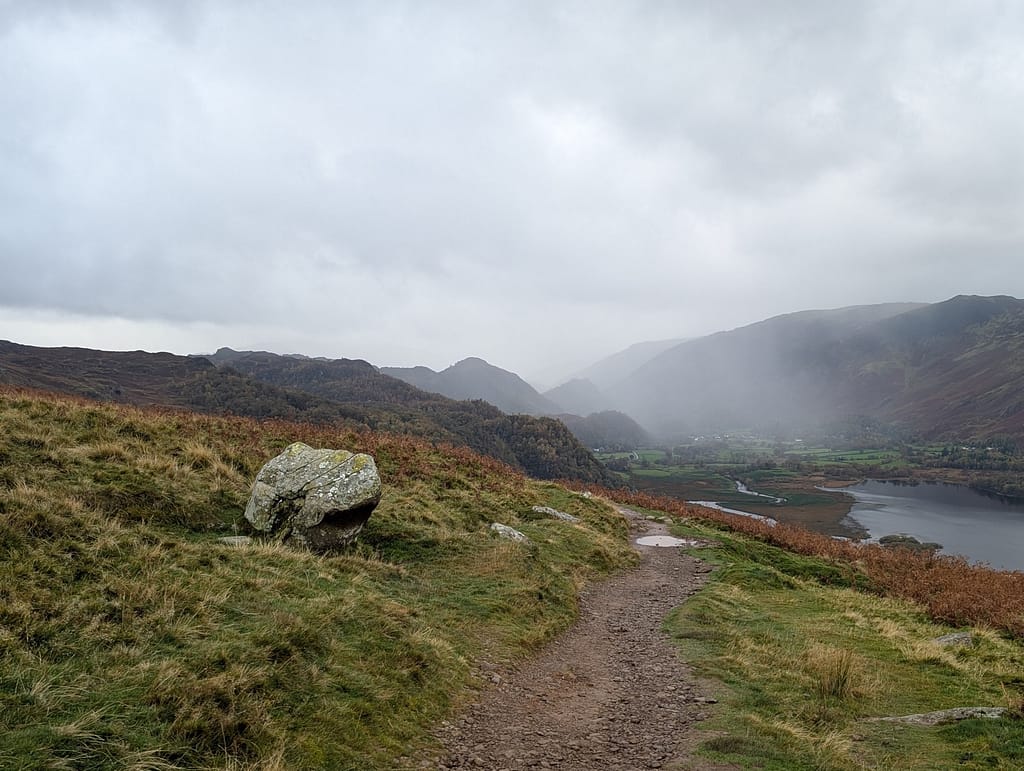
From the crag, the descent towards Ashness Bridge is gentle and scenic, passing through bracken and rocky steps before meeting quieter, more sheltered paths. I always enjoy this section — it’s easy walking and gives you plenty of time to look around without watching your feet constantly.
Reaching Ashness Bridge, I realised something straight away: the view simply isn’t what it used to be.
Thirty years ago, you could stand on or beside the bridge and get a perfect sweeping line straight across Derwentwater towards Skiddaw. Now? Trees have grown tall, and the once-famous viewpoint is mostly blocked. The bridge itself is still charming — mossy stonework, elegant arch, the stream trickling beneath — but the classic postcard shot is harder to capture these days.
It’s still a lovely place to pause, but if you’re visiting for the view, you’ll likely find it a little restricted.
The Best Views of the Day Came After the Bridge
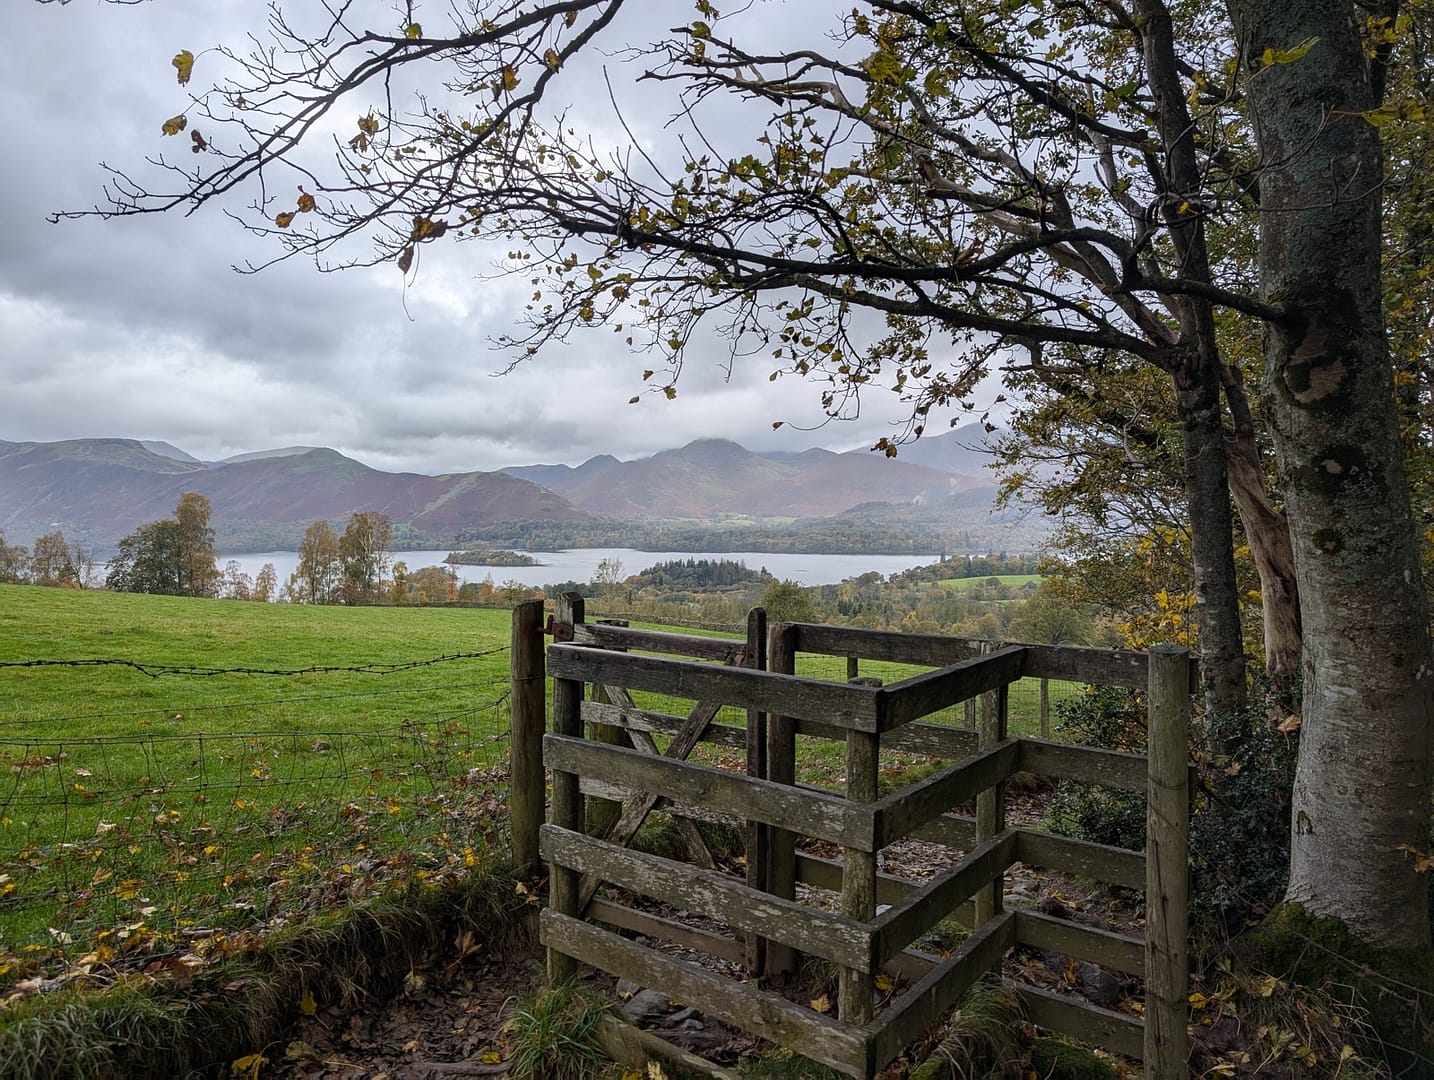
From Ashness Bridge, the walk back to Great Wood Car Park takes you along a beautiful elevated path. And here’s the surprising thing: the views along this stretch are far better than the view from the bridge itself.
The woodland opens up just enough to give you superb glimpses across Derwentwater. The lake was glowing in the shifting light, and the clouds continued to sweep across Great Gable and the central fells, adding even more drama to the scene.
This whole final section felt peaceful and incredibly rewarding — soft paths, the smell of wet leaves, and long stretches where you can see both the lake and the slopes of Walla Crag from new angles. It rounded the walk off in a wonderfully gentle, scenic way
Conclusion
This Keswick loop is everything I love in a shorter Lake District walk: variety, drama, and those little surprises that make the day memorable. Starting in Great Wood gives the route a cosy, woodland feel before the landscape opens wide at Walla Crag. The weather played its part perfectly — bright over Keswick, stormy over the high fells, and even a rainbow thrown in for good measure.
Ashness Bridge may no longer offer the sweeping views it once did, but the path from the bridge back to the car park more than makes up for it. In fact, I’d say some of the best views of the entire route are tucked away along that stretch.
If you’re visiting Keswick and want a loop that’s manageable, scenic, and packed with interest, this is a lovely one to add to your list. It’s a walk I’ll happily return to again — and next time, hopefully with another rainbow waiting for me over Derwentwater.